
Easy Smash Cake Recipe for 1st Birthday Photos
A baby’s first birthday is a truly magical moment, and what better way to celebrate than with a cake smash! Whether you’re a parent planning a photo shoot or a photographer searching for the perfect prop, this 6-inch, triple-layer smash cake is simple to make and ideal for the occasion. We know that planning a cake smash can be stressful enough, so this recipe is designed to be quick, easy, and baby-friendly. Not only does it photograph beautifully, but it’s also light on little tummies and easy for babies to smash through. It’s the perfect cake for a fun, memorable first birthday celebration.
NOTE ABOUT ALLERGIES:
Substitute applesauce or flax seed as a substitute for an egg-free recipe!
TO MAKE THE CAKE YOU’LL NEED:
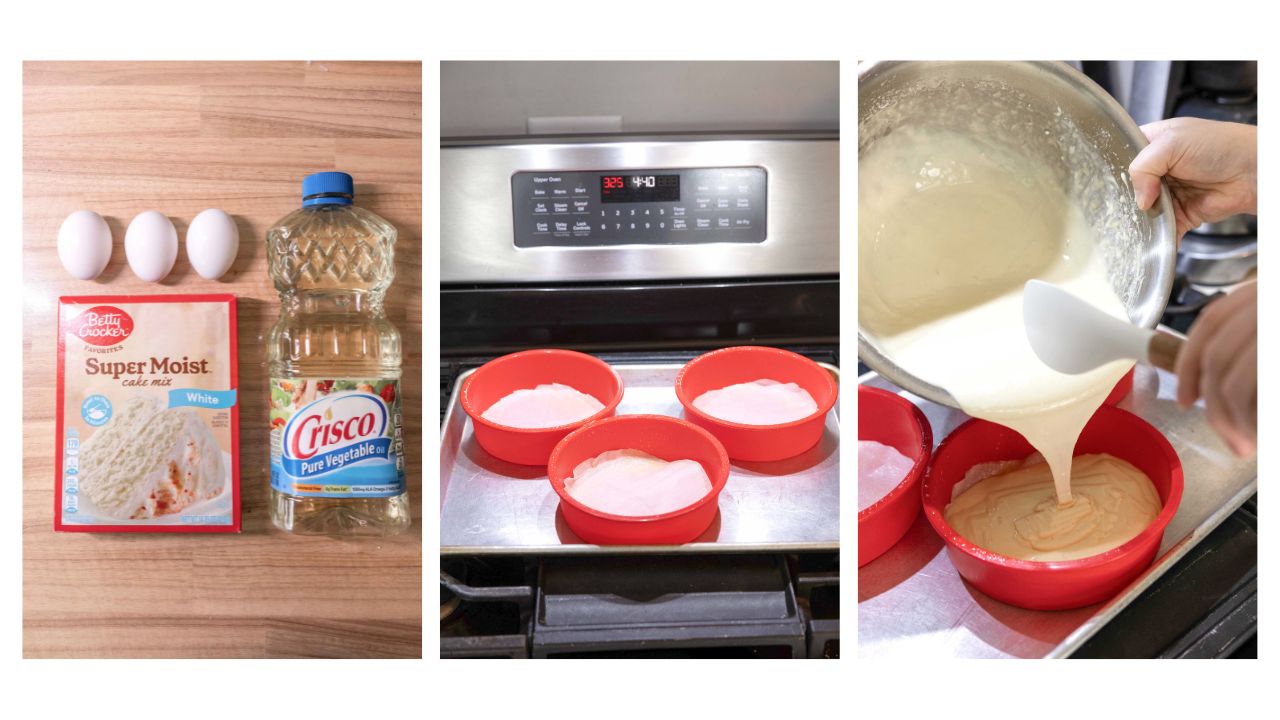
- Betty Crocker Cake Mix in white or yellow cake or similar cake mix, eggs and vegetable oil
- 3 x 6” silicone cake molds and cardboard cake rounds
INSTRUCTIONS FOR THE CAKE:
-
Prepare the Cake Batter
Follow the instructions on the cake batter box, usually calling for 3-4 eggs and vegetable oil. Mix the batter until smooth. -
Prepare the Pans
Line your silicone pans with parchment paper or cooking spray to prevent sticking. I place the silicone molds on a large baking tray for easy handling. -
Divide the Batter
Divide the batter evenly into three cake rounds to ensure consistent layers. Make sure the batter is spread out evenly in each pan. -
Bake at a Lower Temperature
This is the crucial step: Bake the cake at 25°F lower than the box recommends and for a few extra minutes. This helps ensure that when you flatten the cake’s top, it stays moist and soft. -
Check for Doneness
As the baking time nears its end, keep a close eye on the cake. Test with a toothpick—when it comes out clean, the cake is ready. -
Cool and Flatten the Cake
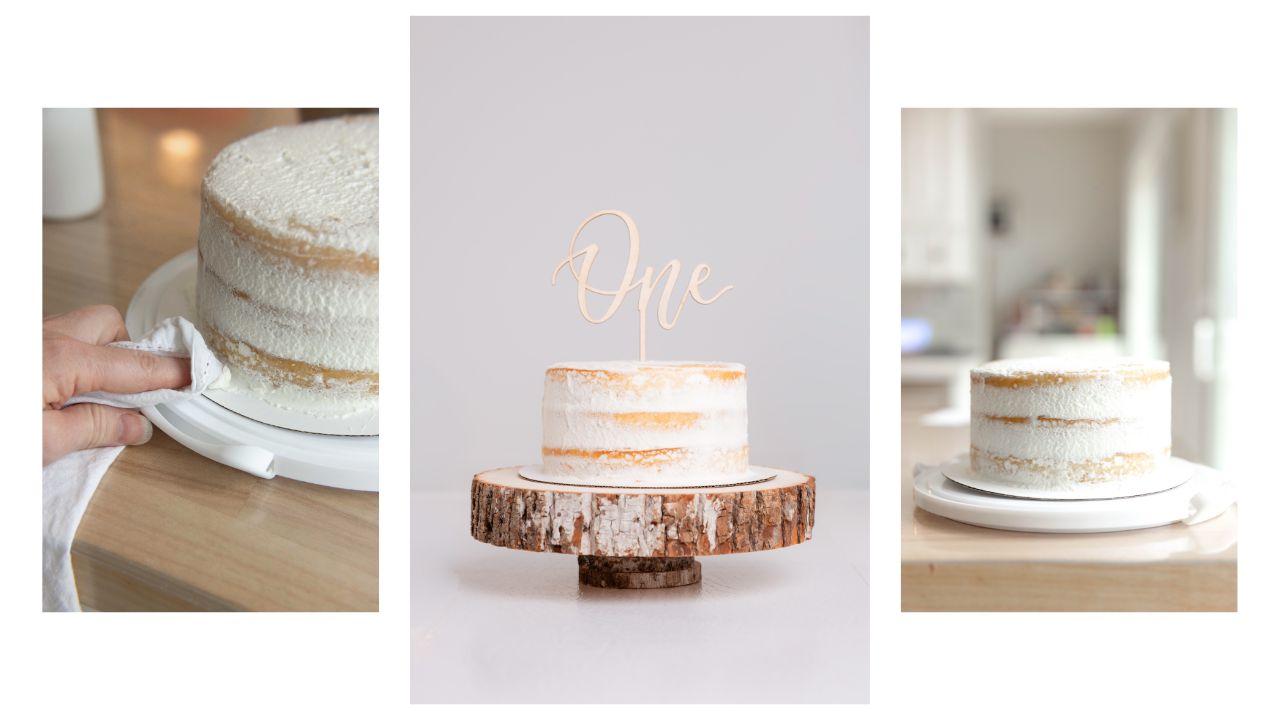
Once the cakes are done, remove the molds and let them cool for 5-10 minutes. When they're slightly cooler (but still warm), use a clean towel to gently press down on the top to flatten the cake. This step creates a flat top and keeps the cake moist. Be careful not to burn yourself if the cake is still too hot! -
Assemble the Cake
Allow the cakes to cool completely. Once cooled, place the first layer onto a cardboard cake round, then begin adding frosting between each layer (see frosting recipe below). -
Frost the Cake
Spread frosting between the layers to hold them together, then cover the entire cake with a layer of frosting. I use cake spreading tools for a smoother finish. Don’t worry about being perfect at first - apply a thick, messy layer and then smooth it out by running the tool around the cake several times. Think of it like painting on a canvas! Once you have a good layer, clean up the edges for a crisp, polished look - this makes the cake photo-ready!

TO MAKE THE FROSTING YOU’LL NEED:
-
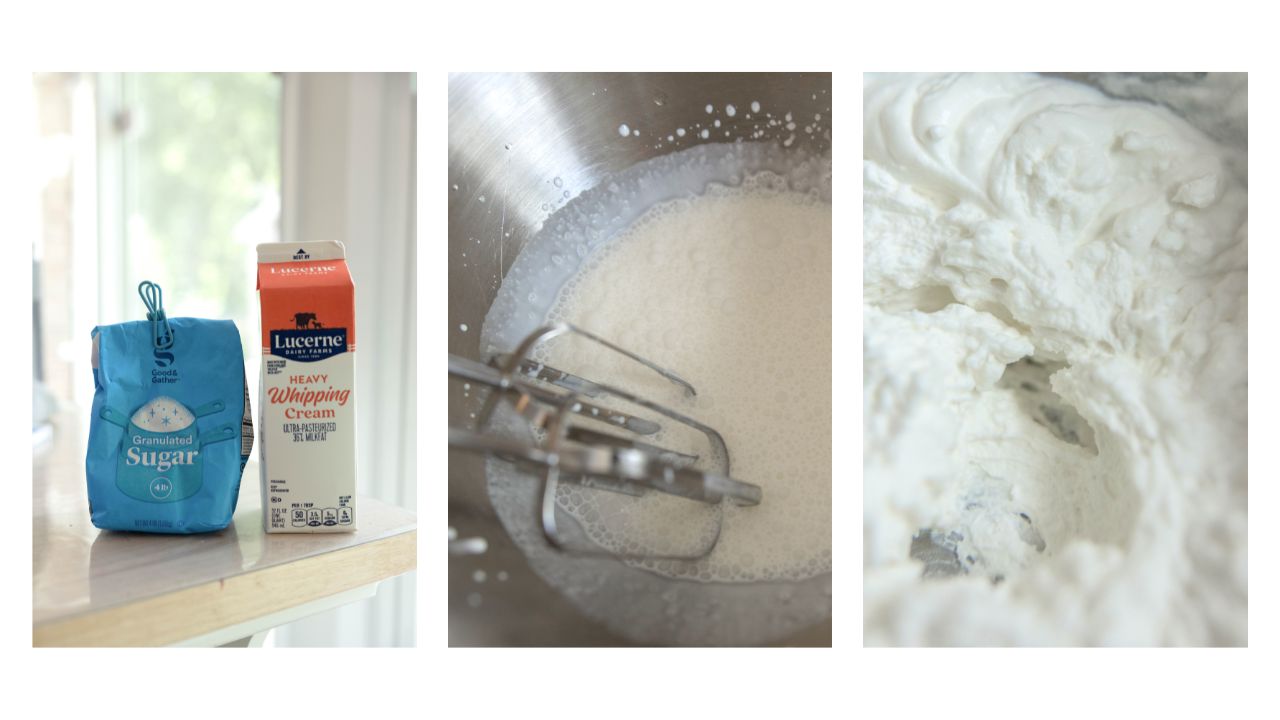
1 cup of heavy whipping cream
- 3 tablespoons of sugar
INSTRUCTIONS FOR THE FROSTING:
- Add one cup of heavy cream and 3 tablespoons of granular sugar into a mixing bowl. Beat on high speed until stiff peak forms (about 3-5 minutes). For a dairy-free version, use coconut cream.
-
Polish the Cake
Once the frosting is applied, use cake tools to smooth and refine the surface. Run the tools around the cake multiple times to achieve a polished, professional finish. This step is key for making the cake look photo-ready! The frosting style used here is called "naked frosting," where some of the cake is intentionally left exposed, giving it a rustic yet elegant look. I do this for all of my cakes as I think it just really is so pretty for photos! -
Storage Tips
For the best results, store the cake in the fridge for up to 1-2 days before your cake smash session. This helps the frosting firm up and ensures the layers stay intact. -
Important Frosting Tip
Keep in mind that this frosting is very light and may not hold up well in warm environments. If your cake smash will be in a hot setting, consider using a sturdier frosting to prevent melting or shifting.
-
Style to Your Heart’s Content!
Get creative with decorations—add sprinkles, a "ONE" sign, or anything else you think will make the cake pop! While I prefer a simple look, feel free to go as crazy as you want with your styling. Just keep in mind that babies love to grab everything on the cake, so be cautious of any choking hazards.

